This tutorial is for a pocket sized travelers journal. Similar to the midor-style journals I posted most recently, but smaller. This is my method, please feel free to copy and/or modify for making your own.
For the pocket size I use notebooks that are 5" x 3 1/2" (I bought a pack on Amazon). This journal will fit four nicely.
Supplies needed:
~ Cardstock cut to 7 3/4" x 5 1/4"
~ Fabric for spine cut to 2 1/2" x 6"
~ Fabric for front and back cut to 5 1/2" x 6" (cut two)
~ Mini eyelets. For this tutorial I use 6
~ Elastic cord
~ Optional button
~ Surger (or modify for a sewing machine)
~ Thread
~ Iron (optional)
Here we go!
Step 1:
Fold cardstock twice at 3 5/8" in from each side
This is what I found works best for the notebooks I use, you can see they fit perfectly in between the folds:
Step 2:
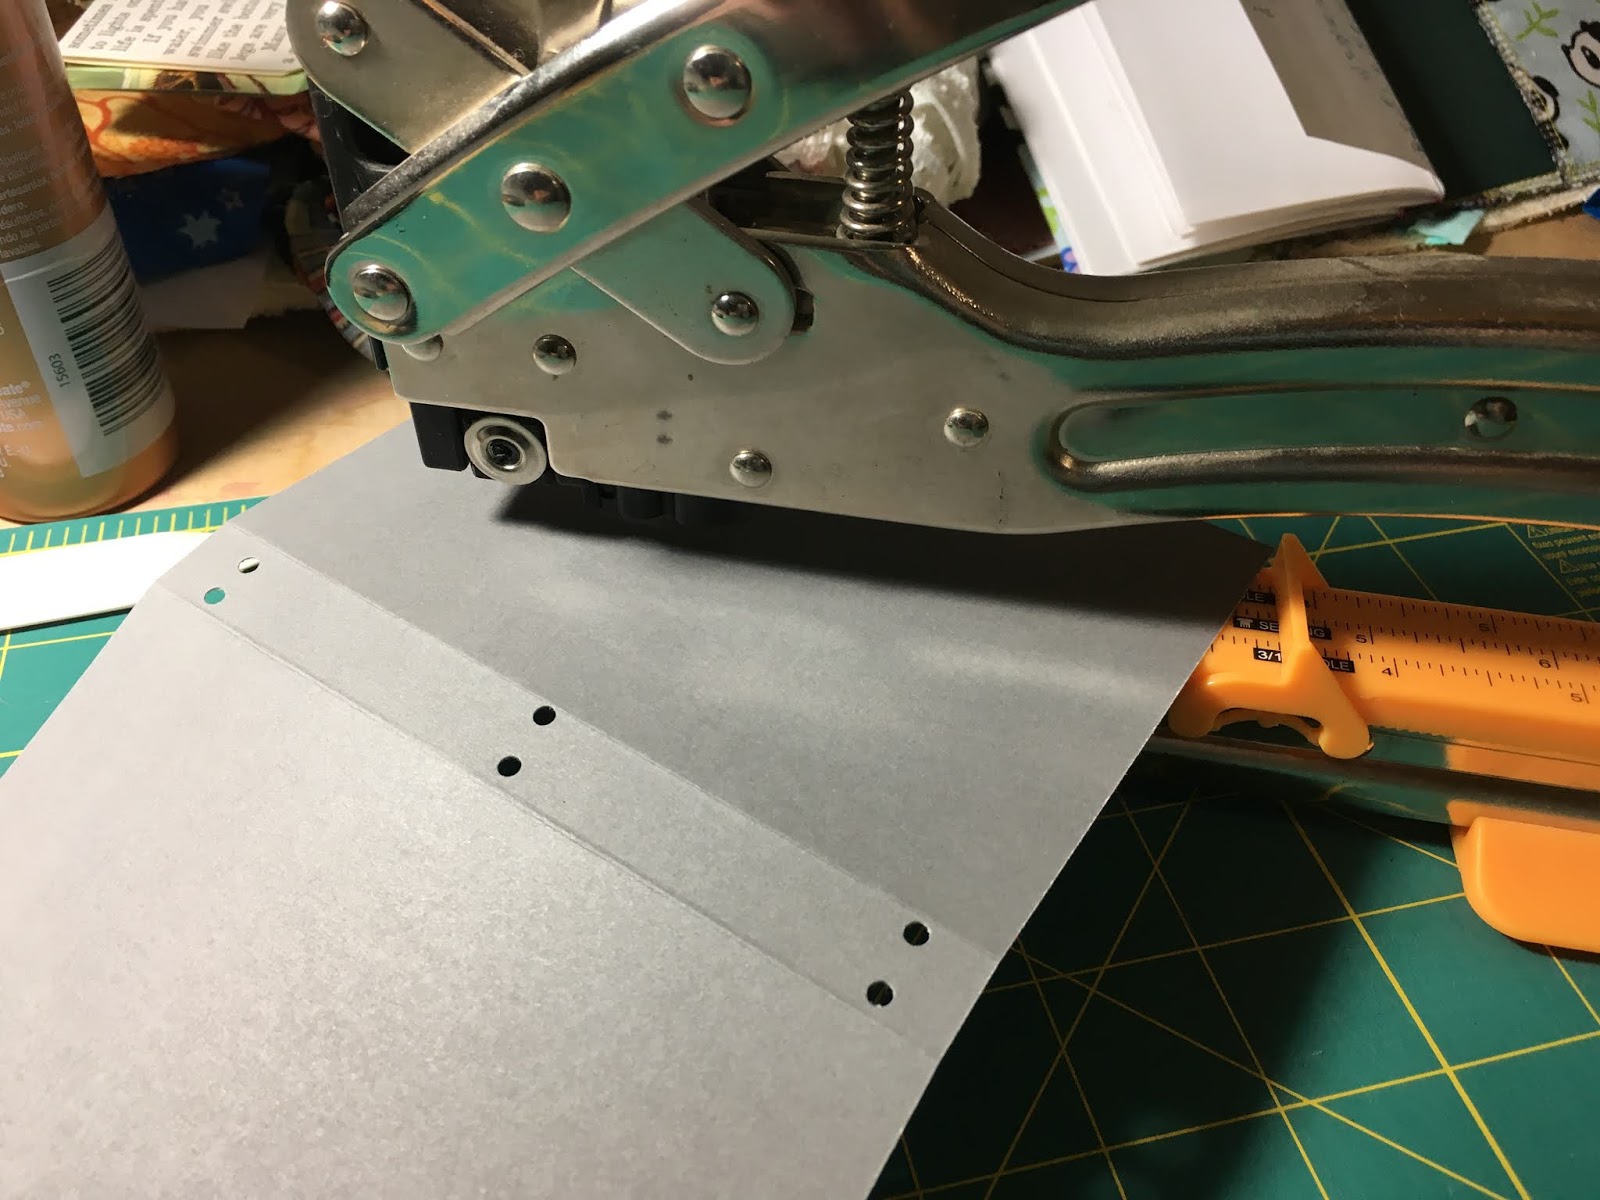
Punch holes in the cardstock for eyelets. I use my Crop-o-Dile smallest hole punch.
The holes at the top and bottom should be about 3/8" from the edge and close to the crease. The holes in the center should be in the approximate center or wherever you want your closure band to be.
Step 3:
Lay your fabric out with long side (6" side) touching, Arranged with the spine fabric in the center. Serge pieces right sides together without cutting/using the serger blade. Also serge down the outer 6" sides to create a finished edge.
Press seams toward outer edges.
Step 4:
Center cardstock on the wrong side of the fabric and fold fabric sides over to create pockets, pin in place.
Serge along the top and bottom edges close to cardstock. You will want your serger blade engaged for this. I try to serge with the outer needle touching the cardstock. It's a tricky step and I still end up with needle pricks in my cardstock, but that doesn't bother me. Don't forget to remove your pins when serging! Go slow and hand crank for better control.
All the serging is done now so finish off your thread tails however you like. I tie a knot and burry the thread using an upholstery needle.
Step 6:
Snip holes in the fabric for the eyelets. Use the cardstock holes as a guide. This is another tricky bit and I haven't found the perfect technique yet. I use sharp, pointy scissors and take tiny bites until I have enough room for the eyelet.
Set the eyelets through both fabric and cardstock.
Step 7:
Add elastic cord for the notebook inserts and the closure band. Secure each with a knot.
The vertical cord is for the inserts and should be tight but not too tight (it's easier to understand by doing).
The cord in the center should be long enough to loop around the finished journal without being loose. If you want to add a decorative button put it on the closure band before attaching to the journal.
Step 8:
Add your inserts! My pictures were hard to follow for this step, I found that looking up a video of someone doing this was a lot easier to follow than any pictures/illustrations.
And you're done! Thanks for reading!