Friday, February 22, 2019

Fabric Covered Art Journal

I made this fabric covered journal for a swap:


It was fun adding the lace detail and the bright colors of the fabric were fun to work with. I ended up serging all the edges and I really like how it turned out. I added a lace bookmark and a button & elastic closure. 

Bonus, the fabric folded over creates pockets inside the cover:


I filled it with different colored paper, foreign text, etc to give it more personality and dimension when used as an art journal.

I was really happy with how this one turned out. It's different than most of the journals I've made. I machine stitched all the pages in place and had a little disagreement with my machine with the last batch of pages... but all in all they are nice and snug and it should hold up well to being used. 

Since making this one I was inspired to make a few other similar journals for myself that I will share later ;) For now, here are some extra pictures :)


Back cover:


Detail close-up:


Saturday, February 16, 2019

Washcloths

Oh-so-fancy! Or at least useful ;) 

I made a few washcloth sets some years ago with a sewing machine, but now I have a serger (and I'm completely obsessed with using it) so these are extra fancy! I cut 8" squares from flannel and terry cloth material, serged the sides, tied off & buried the thread, and voila!


Incase you're dying to see the underside ;)


The towels I made a few years ago were bigger, but I like this size better. My set has come in very handy around the kitchen and now that we have a baby in the house I find myself using the soft flannel side for washing his little fingers and then I can use the terry cloth side for other cleaning. 

I love having a serger! I find myself serging just about anything I can get away with now. But I'm not a fan of threading the darn thing so I've taken to not re-threading if it can be avoided, hence nearly everything I've been making has multi-colored edges. 

Friday, February 15, 2019

Nicht wirklich lang

I'm getting back into swaps and here is a journal I recently made with a Labyrinth theme. I picked papers in my partner's favorite colors and added one of her favorite quotes to the front; "It's only forever, not long at all". 


 She lives in Germany so I added the German translation to the back as well. I looked up the German song lyrics instead of using a direct translation; "Es ist nur für immer, nicht wirklich lang".


And here is a detail shot of the binding. I love this kind of journal because each signature (section) has a colored paper cover and you get a glimpse of all the colors together on the side. I also like to have a way to keep the journal nicely closed and chose a lace-like ribbon for this one. 


Thursday, February 14, 2019

Busy Board

Hello blog! Long time no see :)

I think I'll try to keep up with posting my crafts because I like having a way to look back on what I've done. This blog happens to be a perfect way to do that! And if anyone else finds joy from it then that's even better :D

First up:


I made a busy board for my kiddo a few weeks ago. I bought a shelf from the hardware store and filled it with latches and hinges. It was a really easy project. I loved using a shelf because the wood was already cut and finished (painted) so all I had to do was attach everything. I decided where everything would go and pre-drilled holes then attached with screws. Most of the screws provided with the hardware worked but I did need to switch out a few for short ones so they wouldn't poke through. There is also plenty of space to add more if I decide to later on.

Friday, September 2, 2011

Head Start Art Journal Swap

I finished crafting a handmade art journal for a swap and I am so happy with how it turned out that I just have to share! The idea of the Head Start Art Journal swap was to make a journal and start it for your partner. You start, they finish. So some of these pages look unfinished for a reason ;)

Picture warning! I have 21 pictures to share, and it's my blog so I'm gonna! You have been warned.

Firstly lets take a look at the closed journal (two of my partner's favorite colors are orange and bright pink):

I used bias tape for the wrap around tie and along the edges.

Outside the journal from every angle to show off the binding and all the wonderful ribbons, lace, and paper peeking out:


Now lets take a look inside!

Inside the front cover, a fun pocket with lace trim:


And now my favorite pages (my partner's themes included music, anime, and pastries):

 (I made a special treble clef stamp since my partner loves music)


(Vintage Jello recipes)
(A collection of foreign papers)


 ("Baby's Black Balloon" by The Goo Goo Dolls is one of her favorite songs)

(And "99 Red Balloons" by Nena is one of my favorites, so I made these pages facing each other)

 (progression of a stamp. While carving the stamp I tested it along the way, and then pasted the progression into the journal for fun. Seen with the completed stamp)
(Mounted stamp, I included this as an extra when I sent the journal to it's new home)

And there you have it! If you took the time to look at all 21 pictures then I hope you enjoyed them! I'm happy to have them here as a crafty reminder of the journal I made. Thanks for looking! :)

Thursday, August 25, 2011

Getting ready for Halloween

I want to attempt making and swapping costume pieces this year, and I might actually pull it off since I'm starting in August! I want to be a dark/gothic/awesome Red Riding Hood. So think dark red and black, tattered, and kinda punk-ish.

I found a tutu tutorial (I just love saying that) online, here: http://www.heartbreakkids.com/blog/2010/10/3/how-to-make-a-tutu.html (it's for kids, but was easy to transfer to my adult size). I made mine with black and white tulle, I was hoping to add some red but did not find any at my local craft store... but that's ok, cause I have an idea you will see in a minute.

I couldn't get a decent pic of myself wearing it, but here you can get the idea of the fabulous poofyness as it hides my toes when photographed from above:

And a slightly more forward facing shot:
And modeled by my lovely chair:

I love how poofy it is!

But since this is for a Red Riding Hood costume I think it needs some red, so I found some shiny Christmas ribbon to add, but I can't decide how to add it.

I could tie strips on to look something like this:

Or I could add a simple bow:


I think I'm leaning towards the bow idea, but I might wait until I have the rest of my costume put together ;)

I received these fun wrist cuffs in a swap the other day that will be joining my costume:

Now all I need is a dress (or something), a cape, and a basket of goodies!

I'm also very tempted to buy more tulle in different colors to make myself an other tutu, do you think it would be a crime against fashion for an adult to wear a poofy tutu in her day to day life? They are just too awesome, why should toddlers have all the fun?

Tuesday, February 1, 2011

Art Journal #5-ish

I have at least 4 art journals I can think of off the top of my head, each one in various stages of use (mostly with only a few pages started). Then I made this one. I started by following along with this project: http://www.souljournaling.com/prompts.php I didn't follow it to the letter, and I skipped over a few days, and then I stopped following it altogether and just did what I felt like doing. The website was a great jumping off point for me and I learned a lot of fun and interesting techniques. One of these days I will go back and follow it to the end, but for now this is what I've done...

The cover:

I had to use a clip for the photo, because the journal is so stuffed with layers of paint, paper, fabric, and other randomosities that it will not stay neatly closed.


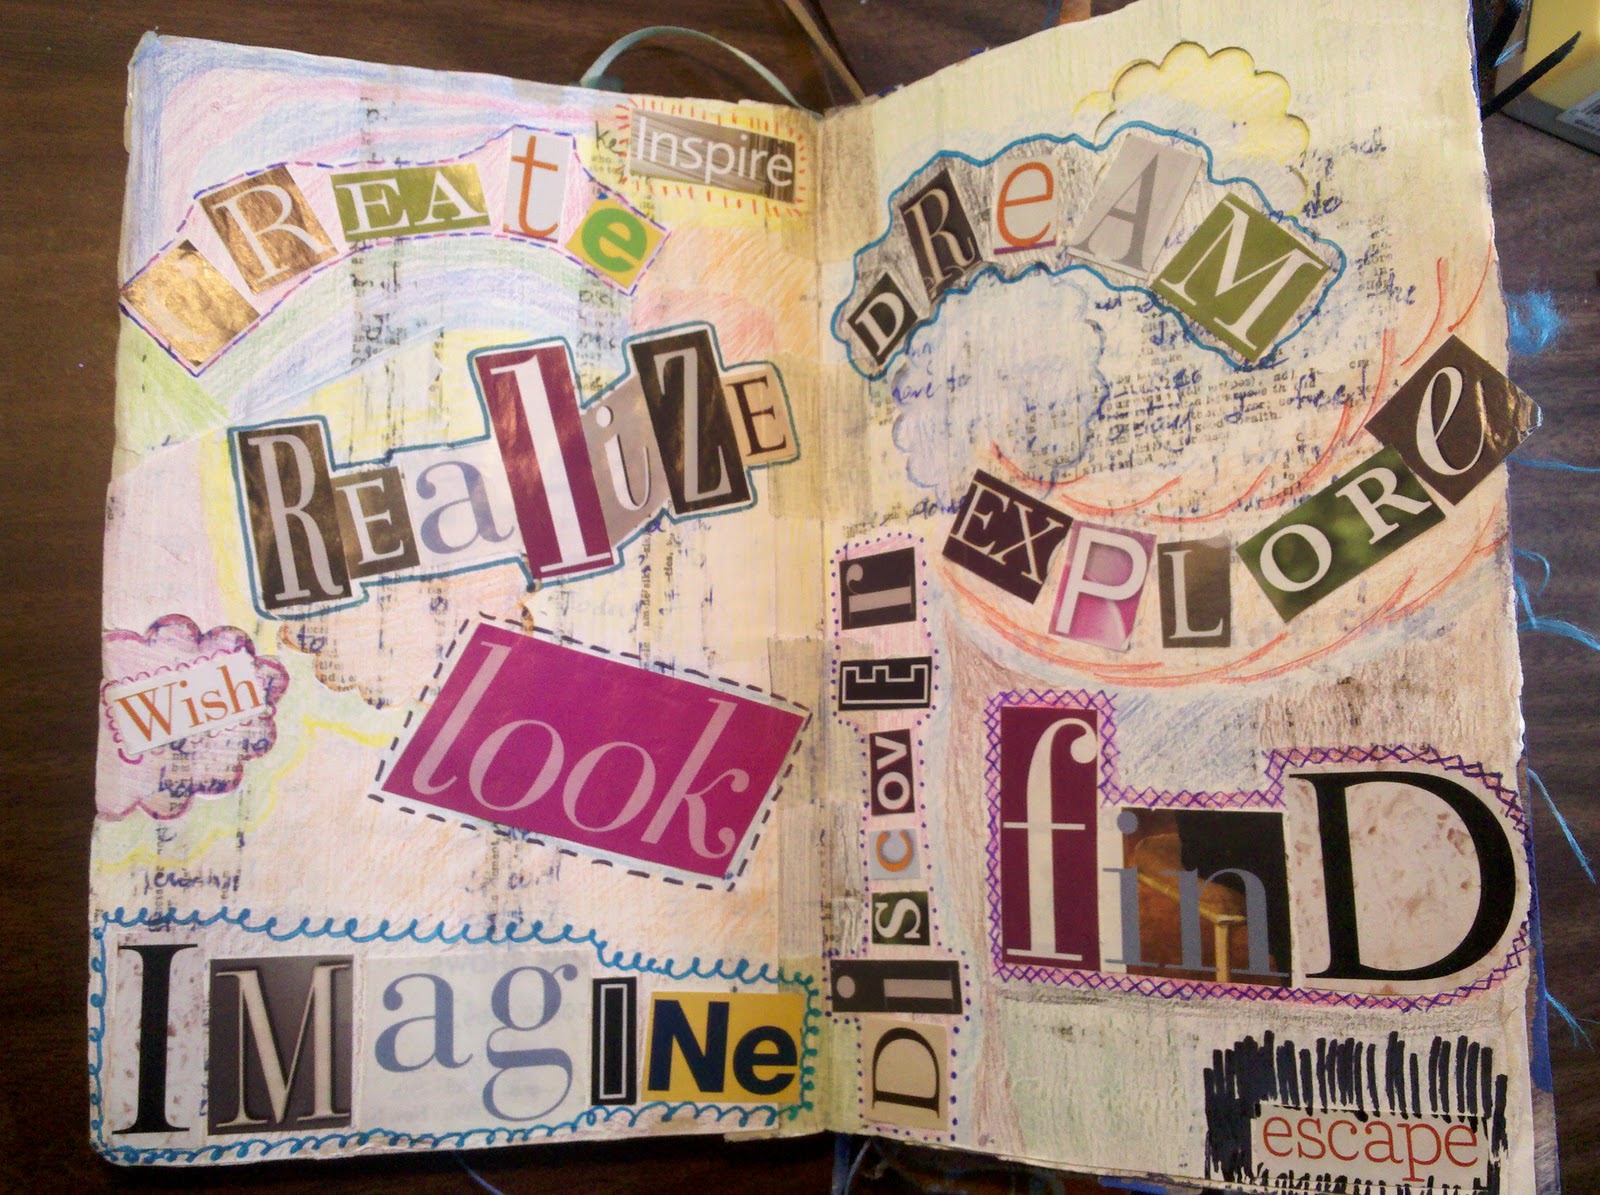
And here are some of my favorite pages. I am quite fond of painting/crafting over words. It is hard to see, but there are a few pages where I journal about my day/feelings/dreams/etc as a background. I have also taken pages from other books, written over them, and glued them into the journal for an added text filled background. It might seem a little counter productive to paint over something you've written, but it is very therapeutic to have the freedom to write whatever you want, knowing that no one will ever be able to read it. Now enough rambling and on to the pages:


None of the pages are ever "finished" but here are a few that are just getting started:


And some closeups of my favorite elements: