Showing posts with label Fabric. Show all posts

Monday, December 16, 2019

Pocket Sized Travelers Journals

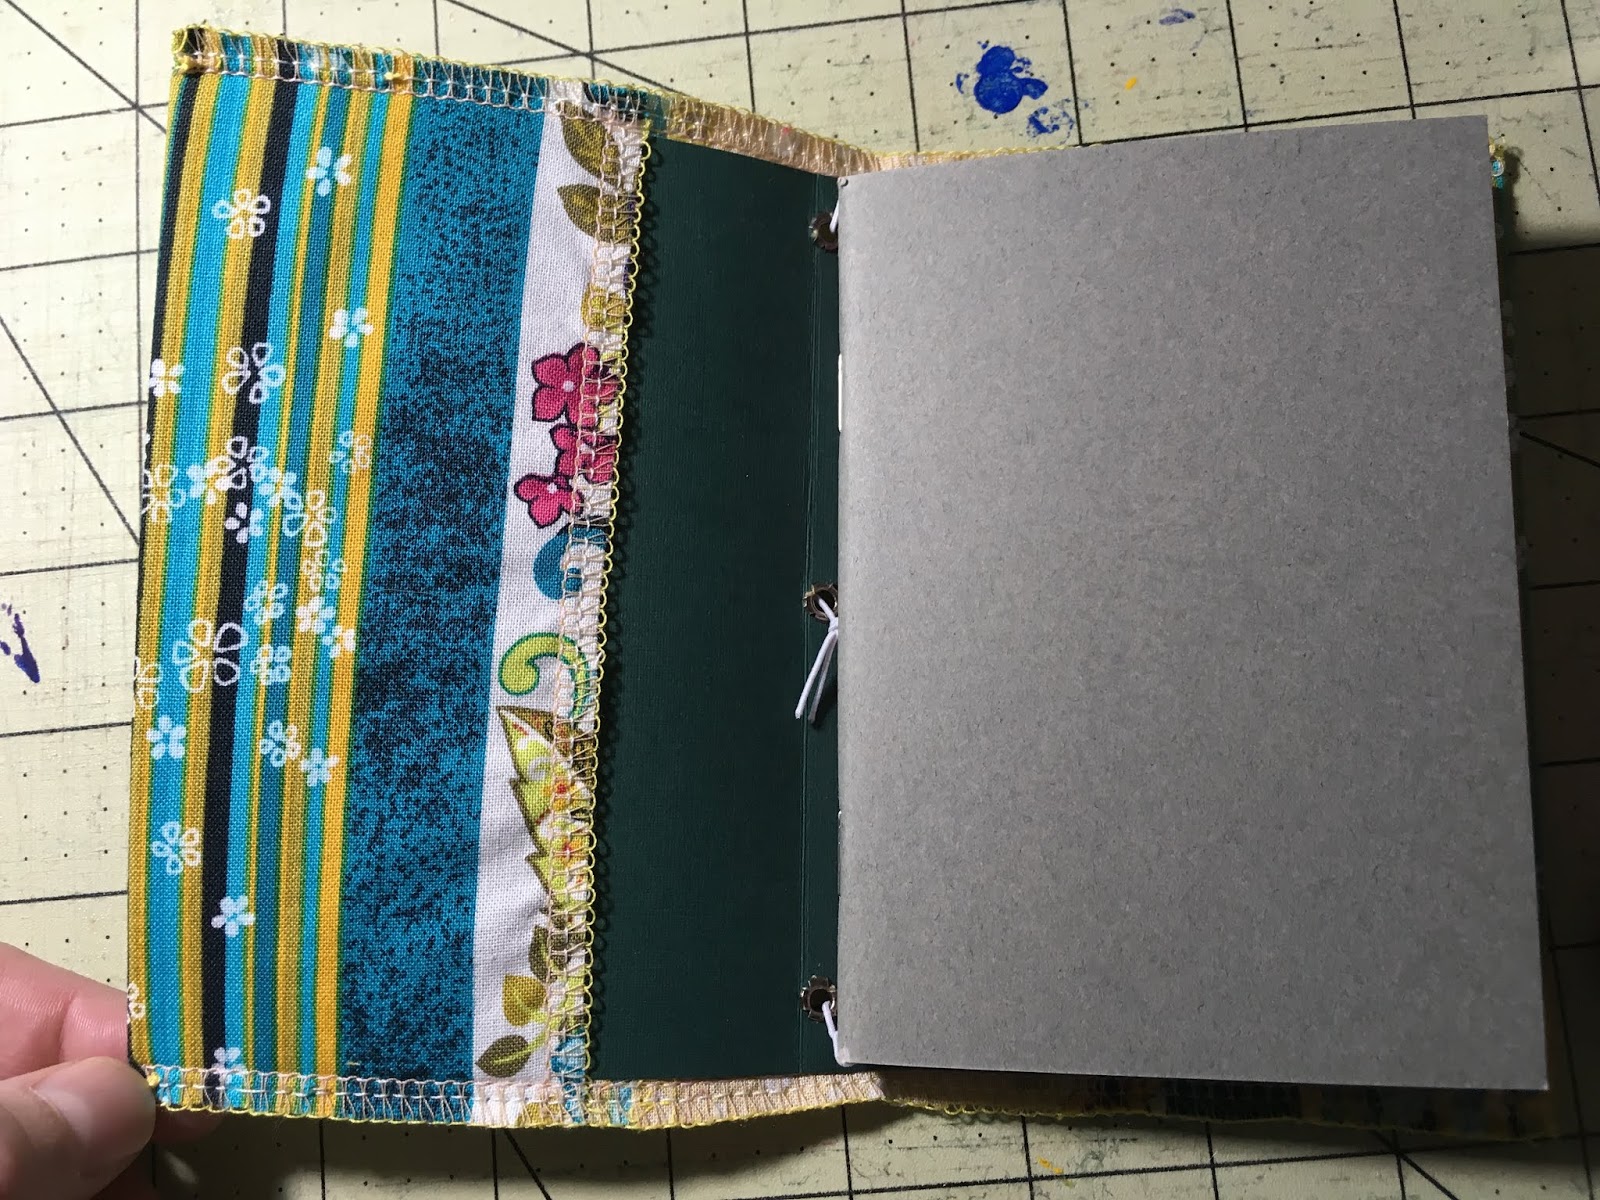
Here are some pictures of Pocket sized travelers journals that I have made in the past:


This is one of the first little ones I've made and I use it for myself. The button has a little heart on it and it just makes me happy:


Here are four that I made as additional gifts for the director and assistant director from "Pack of Lies":


And one I made for a swap:


Thanks for looking! You can find y tutorial for how I make these here: https://kaisa-reinikka.blogspot.com/2019/06/pocket-sized-travelers-journal-tutorial.html


Sunday, December 8, 2019

Rainbow Tote Bag (WARNING, lots of pictures)

I made this bag back in August for a rainbow themed swap. It was tons of fun to make even if it did take a little longer than the swap requirements :) 

Either side could be the front, but this is the side I picked for front:


Back:


Inside pocket, snap, and stitching detail (rainbow thread!):


And here are my planning and in-progress pictures and overly worded descriptions:

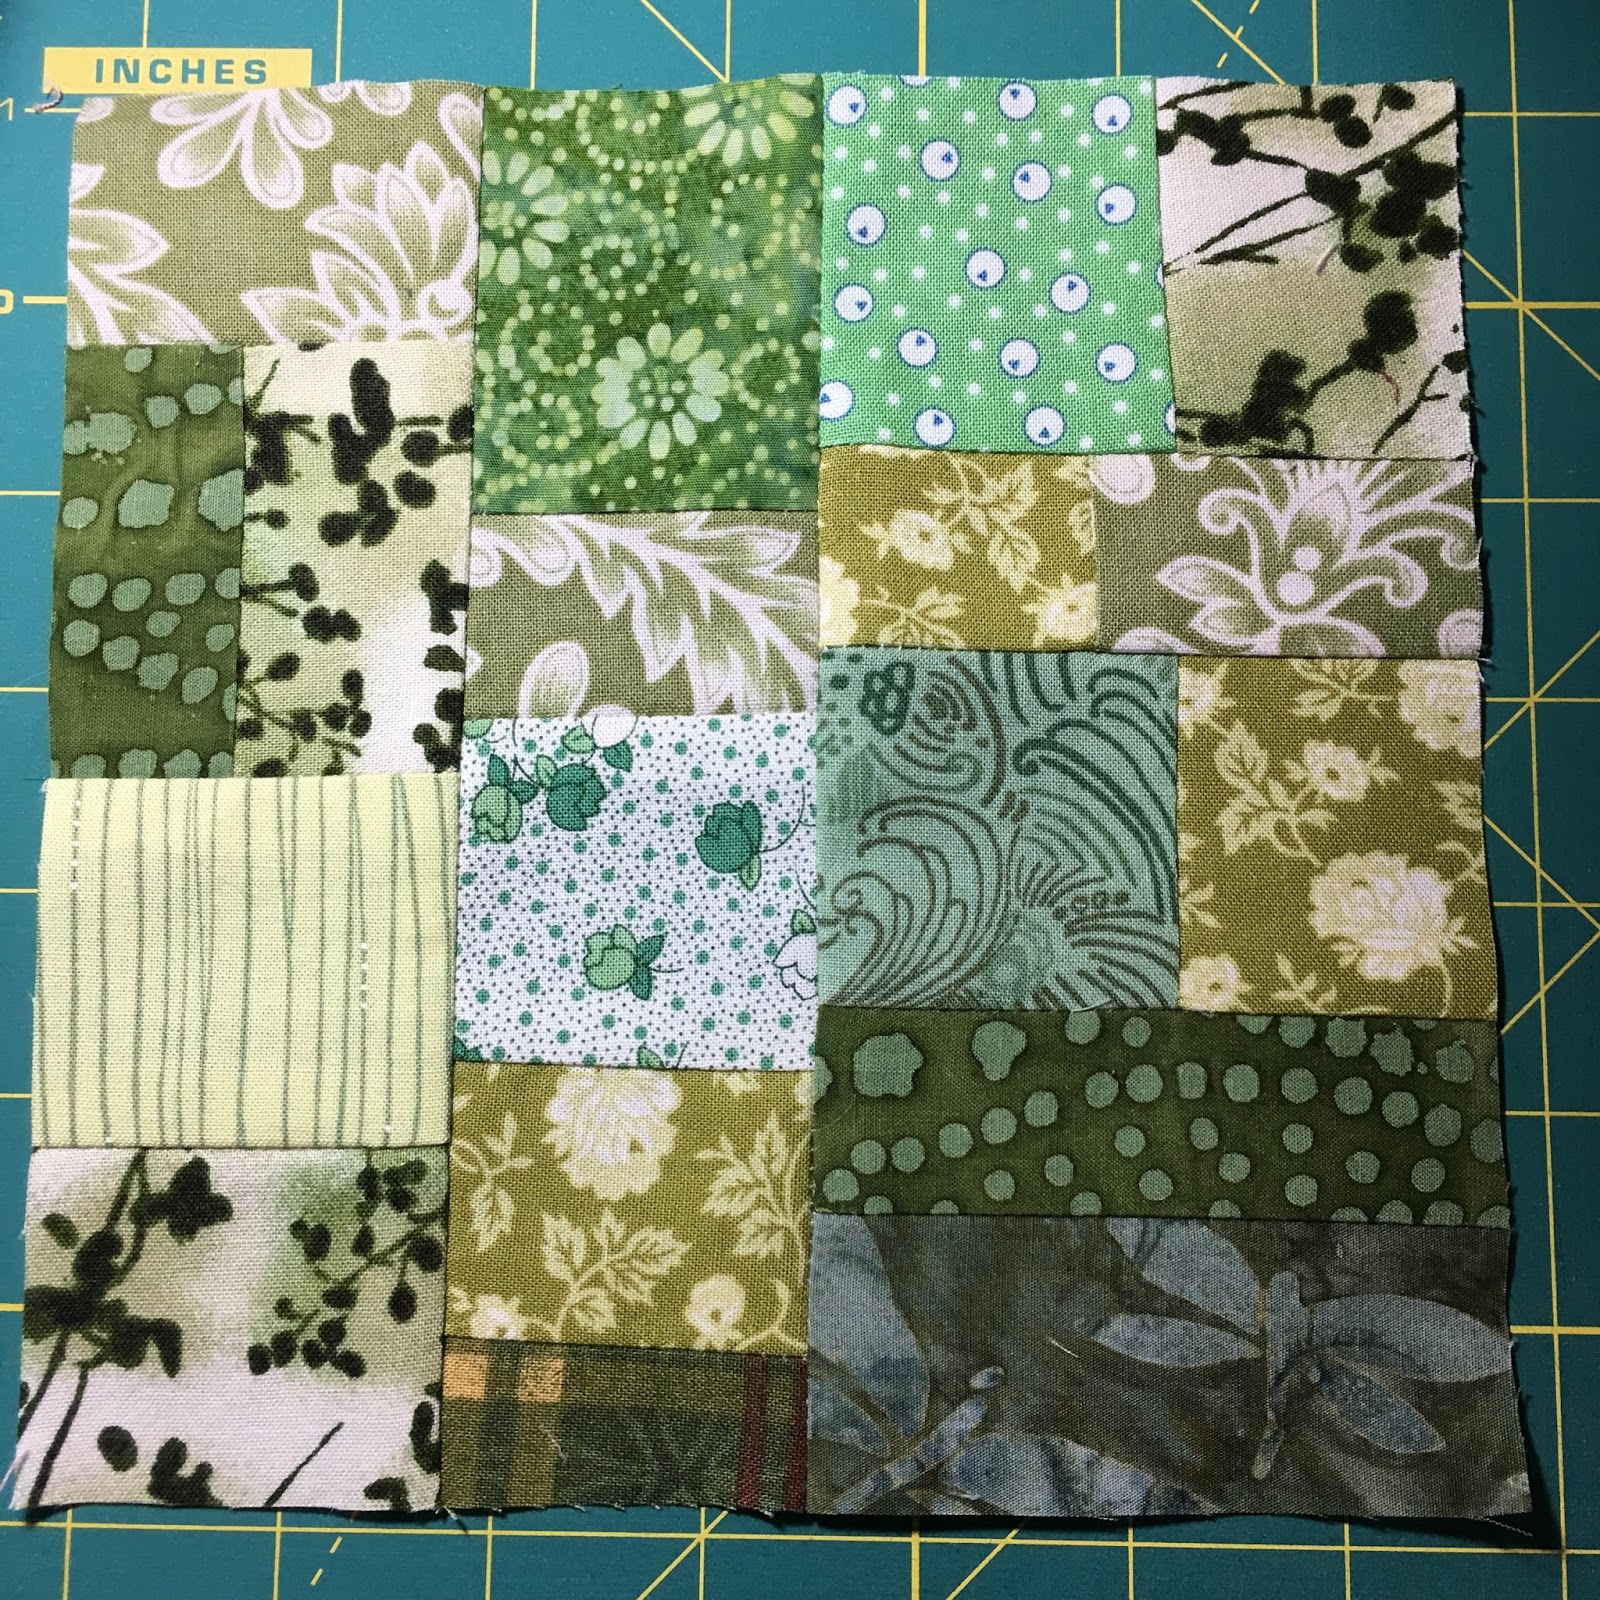
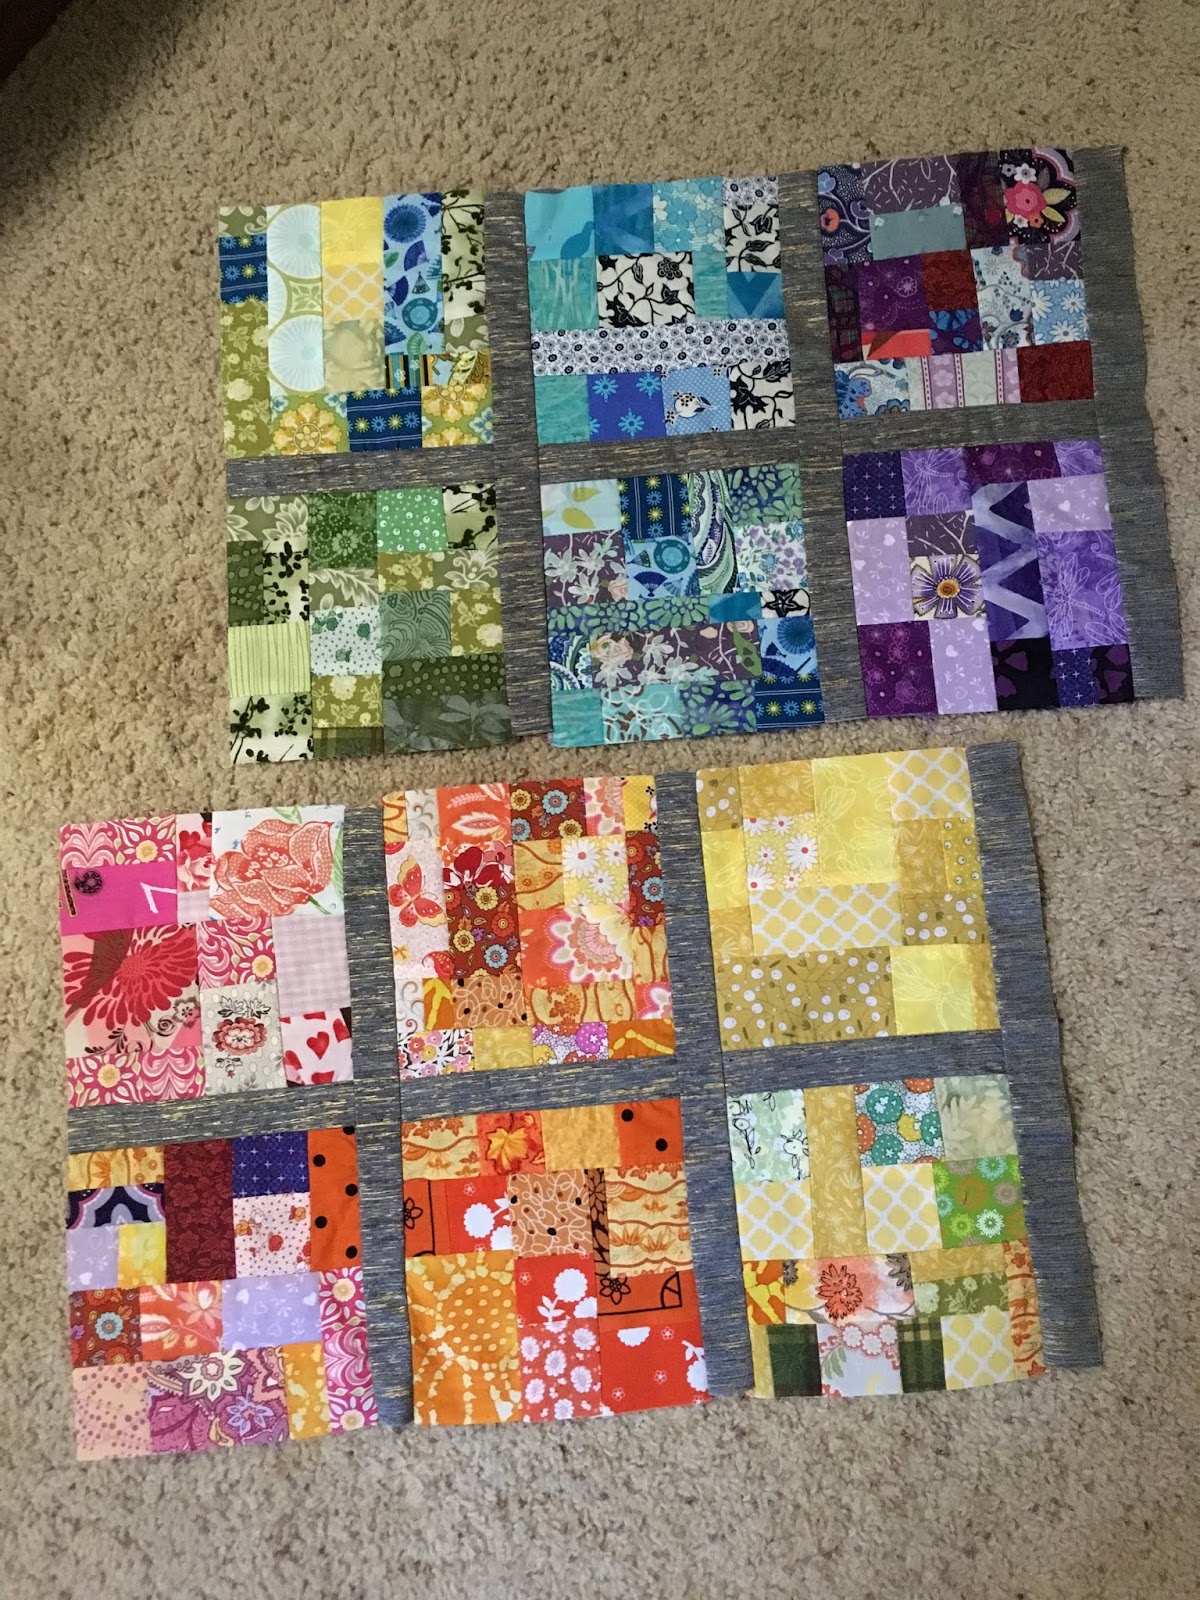
The plan, 12 color blocks with one each of ROYGBV (I cut out indigo, sorry ;) ) and one block to go between each with their common neighbor mixed in. Example is the block between Red and Yellow is Red, Yellow, and Orange.


Each block started as a 7" square but they shrunk throughout the process. Here they are on their own 

Front side blocks:

Red / Red, Orange, Yellow / Yellow:


 Purple, Red, Orange / Orange / Orange, Yellow, Green:


 Back side blocks:

Yellow, Green, Blue / Blue / Blue, Purple, Red:


Green / Green, Blue, Purple / Purple:


And some more in-progress pictures

Starting to add the grey border:


Closeup (it's actually grey with shimmery gold):


Each side finished and ready for bottom and lining:


I love how the border makes each section "pop" instead of having them bleed together.

I used mostly fabric from my stash and used a heavier linen type fabric for the bottom and lining. The blocks were made using a modified version of this tutorial ( https://quiltingisstillmypassion.blogspot.com/2007/07/mile-minute-blocks-photo-tutorial.html )Thanks for looking!

Teesha Moore Inspired Patch Doll

This past Summer I was in a swap where we were charged with making a doll of our partners. Why on earth I joined I'm still not sure! I would never consider myself a doll-maker.... but I jumped in at the last minute thinking I would make a fancy paper doll but then had second thoughts. After many sketches, templates, research, hair pulling, research, overwhelming thoughts of "why did I join this swap??!?", more sketches, more research, a hurried purchase of a blank doll form on etsy, and finally a flash of inspiration! I made this:


She is a TM style patchwork doll. I drafted a simple pattern for the head, body, arms, and legs. Went through my stash of fabric and picked out all the ones that I thought represented my partner (her love of nature and writing stood out the most). Then matched the fabrics up and decided where each one would go and got to cutting.

I was originally going to make her one-sided but then I decided to double up on the pieces because I wanted the back side fabrics to be pretty too! So I made two of everything and stitched them back-to-back before putting the doll together (except the I put part of the neck into the body before stitching it together). Here's her back:


The edge of the head is done opposite to all the other patches; the raw edge is turned to the back instead of the front to give her a nicer/more polished look. Her face was a challenge! I started and re-started a few times... but I think I finally gave her some nice eyes and mouth :)


I gave her some button joints:


 And then I got to work on the HAIR, so... much... hair...!!!


When she was complete I had a little extra time and made her a mini travelers journal as well :)


I used two little TM patches from my stash. I cut a rectangle of fabric big enough to hold them together and be the lining for the inside (and hide the backside of the patches). The pages are made from envelopes rescued from the recycling 


And finally, here she is with her book


Thanks for looking!