Showing posts with label sewing. Show all posts

Monday, December 16, 2019

Pocket Sized Travelers Journals

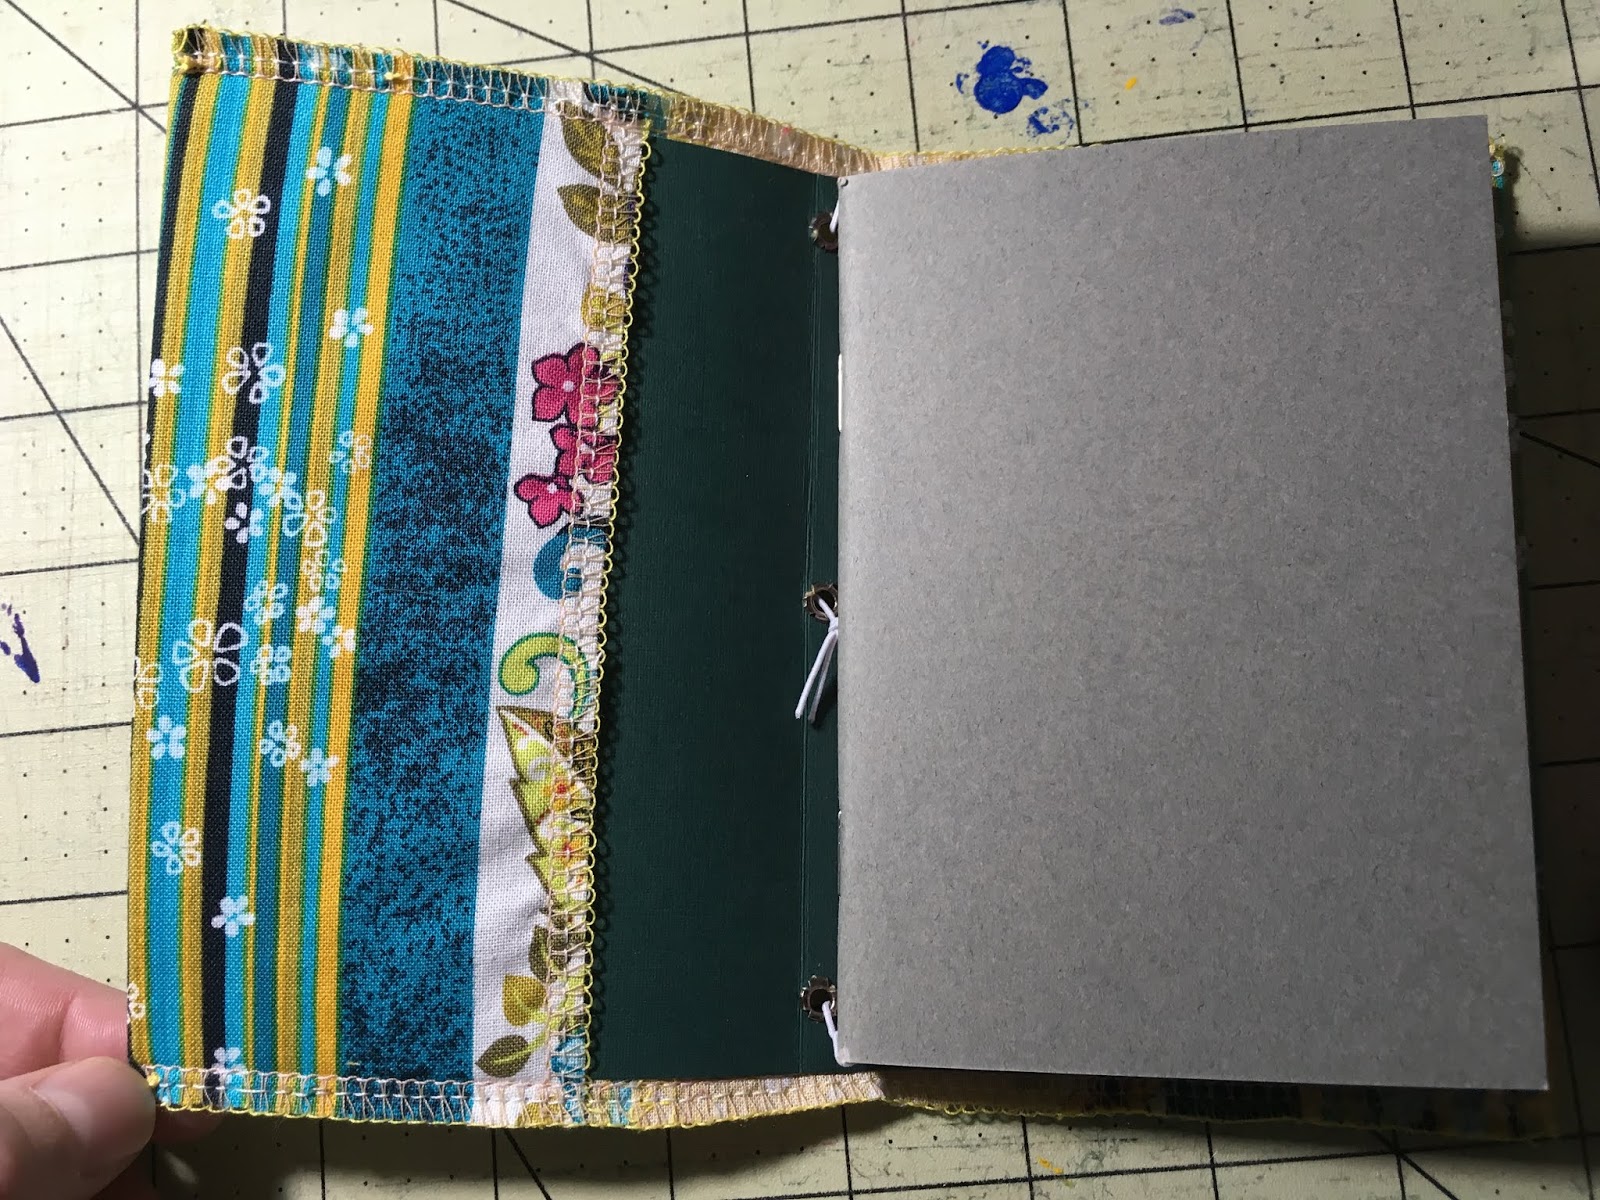
Here are some pictures of Pocket sized travelers journals that I have made in the past:


This is one of the first little ones I've made and I use it for myself. The button has a little heart on it and it just makes me happy:


Here are four that I made as additional gifts for the director and assistant director from "Pack of Lies":


And one I made for a swap:


Thanks for looking! You can find y tutorial for how I make these here: https://kaisa-reinikka.blogspot.com/2019/06/pocket-sized-travelers-journal-tutorial.html


Monday, December 9, 2019

Rainy Day Umbrella Bag

I made this bag around the same time as the Retro Phone Bag ( https://kaisa-reinikka.blogspot.com/2019/08/retro-phone-applique-bag.html ). It was originally going to be my cast party gift for Pack of Lies but I had added the appliques after sewing the outside of the bag together and they weren't staying stuck so I had to sew them on by hand because I couldn't reach them all with my machine. It ended up taking so long that I made the other bag before I finished this one. I actually fell in love with the design after spending so much time working on it that I ended up finishing it for myself and I have been using it lately. It doesn't have a pocket but I did give it a snap closure. I made the umbrella and raindrop patterns myself and am quite happy with the umbrella design. 


Closeup detail pictures:


Sunday, December 8, 2019

Rainbow Tote Bag (WARNING, lots of pictures)

I made this bag back in August for a rainbow themed swap. It was tons of fun to make even if it did take a little longer than the swap requirements :) 

Either side could be the front, but this is the side I picked for front:


Back:


Inside pocket, snap, and stitching detail (rainbow thread!):


And here are my planning and in-progress pictures and overly worded descriptions:

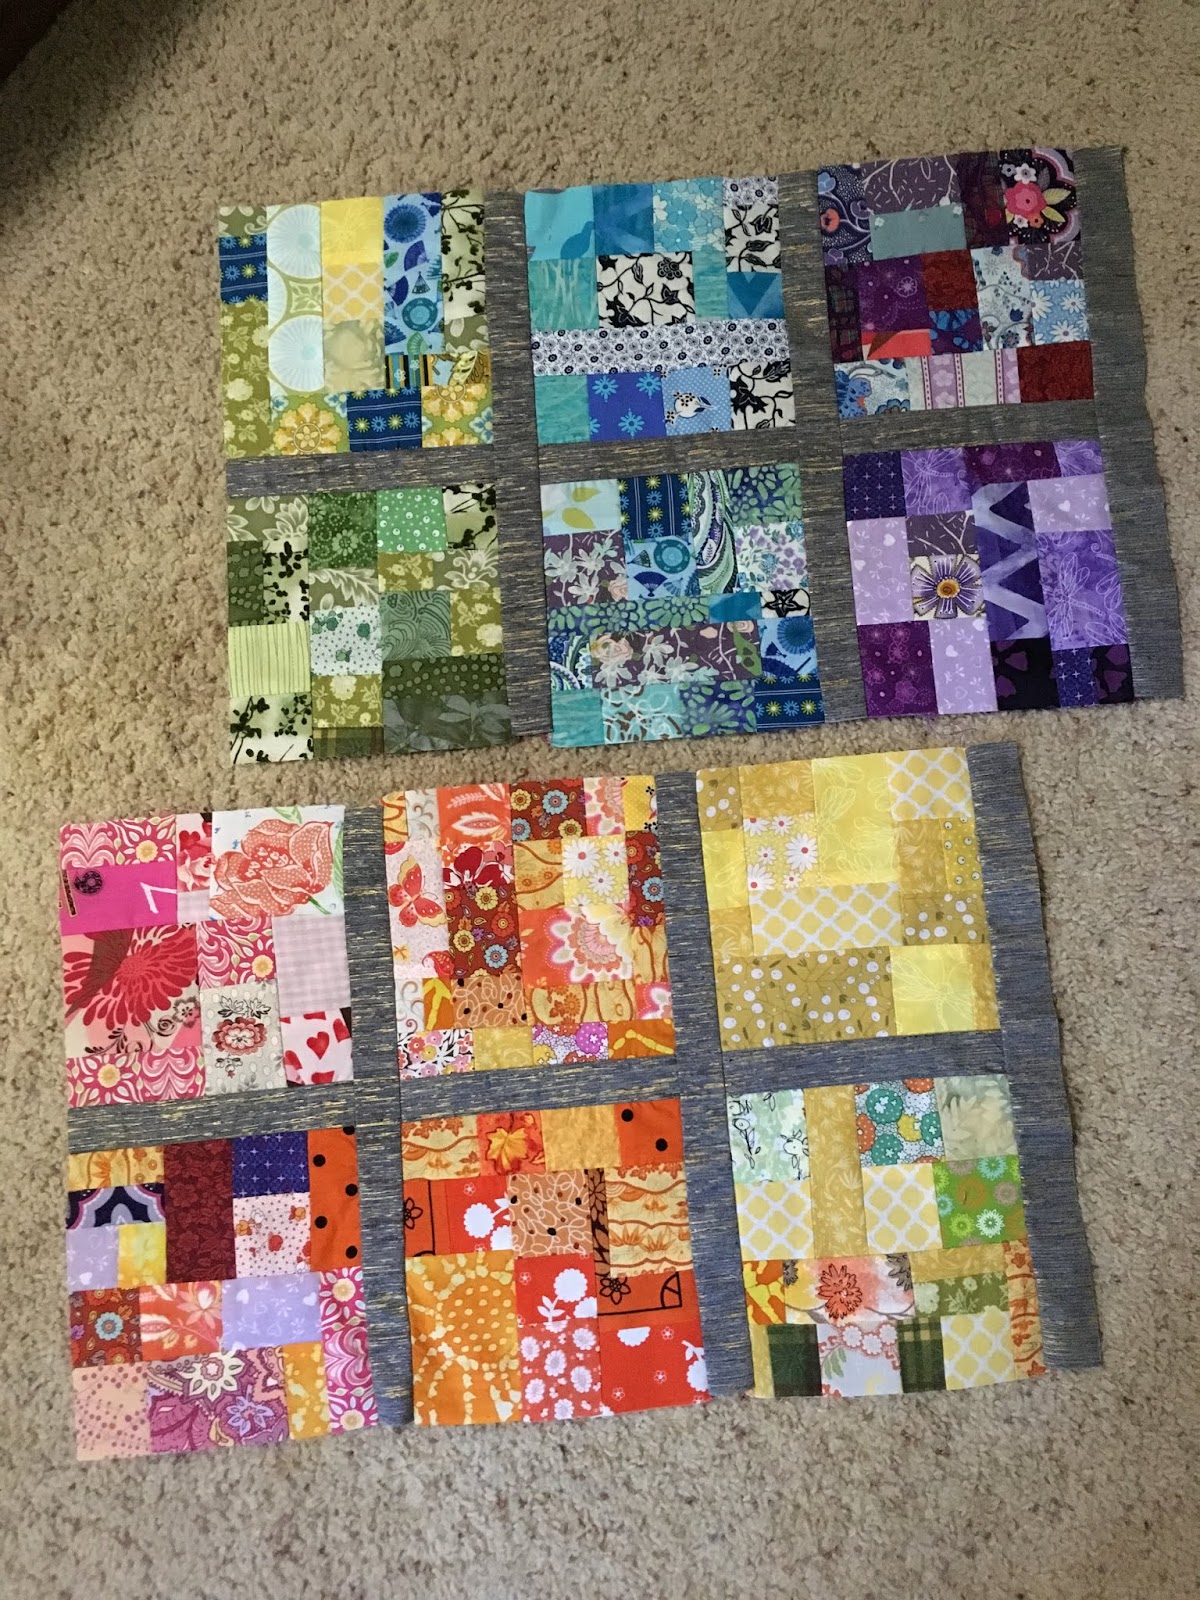
The plan, 12 color blocks with one each of ROYGBV (I cut out indigo, sorry ;) ) and one block to go between each with their common neighbor mixed in. Example is the block between Red and Yellow is Red, Yellow, and Orange.


Each block started as a 7" square but they shrunk throughout the process. Here they are on their own 

Front side blocks:

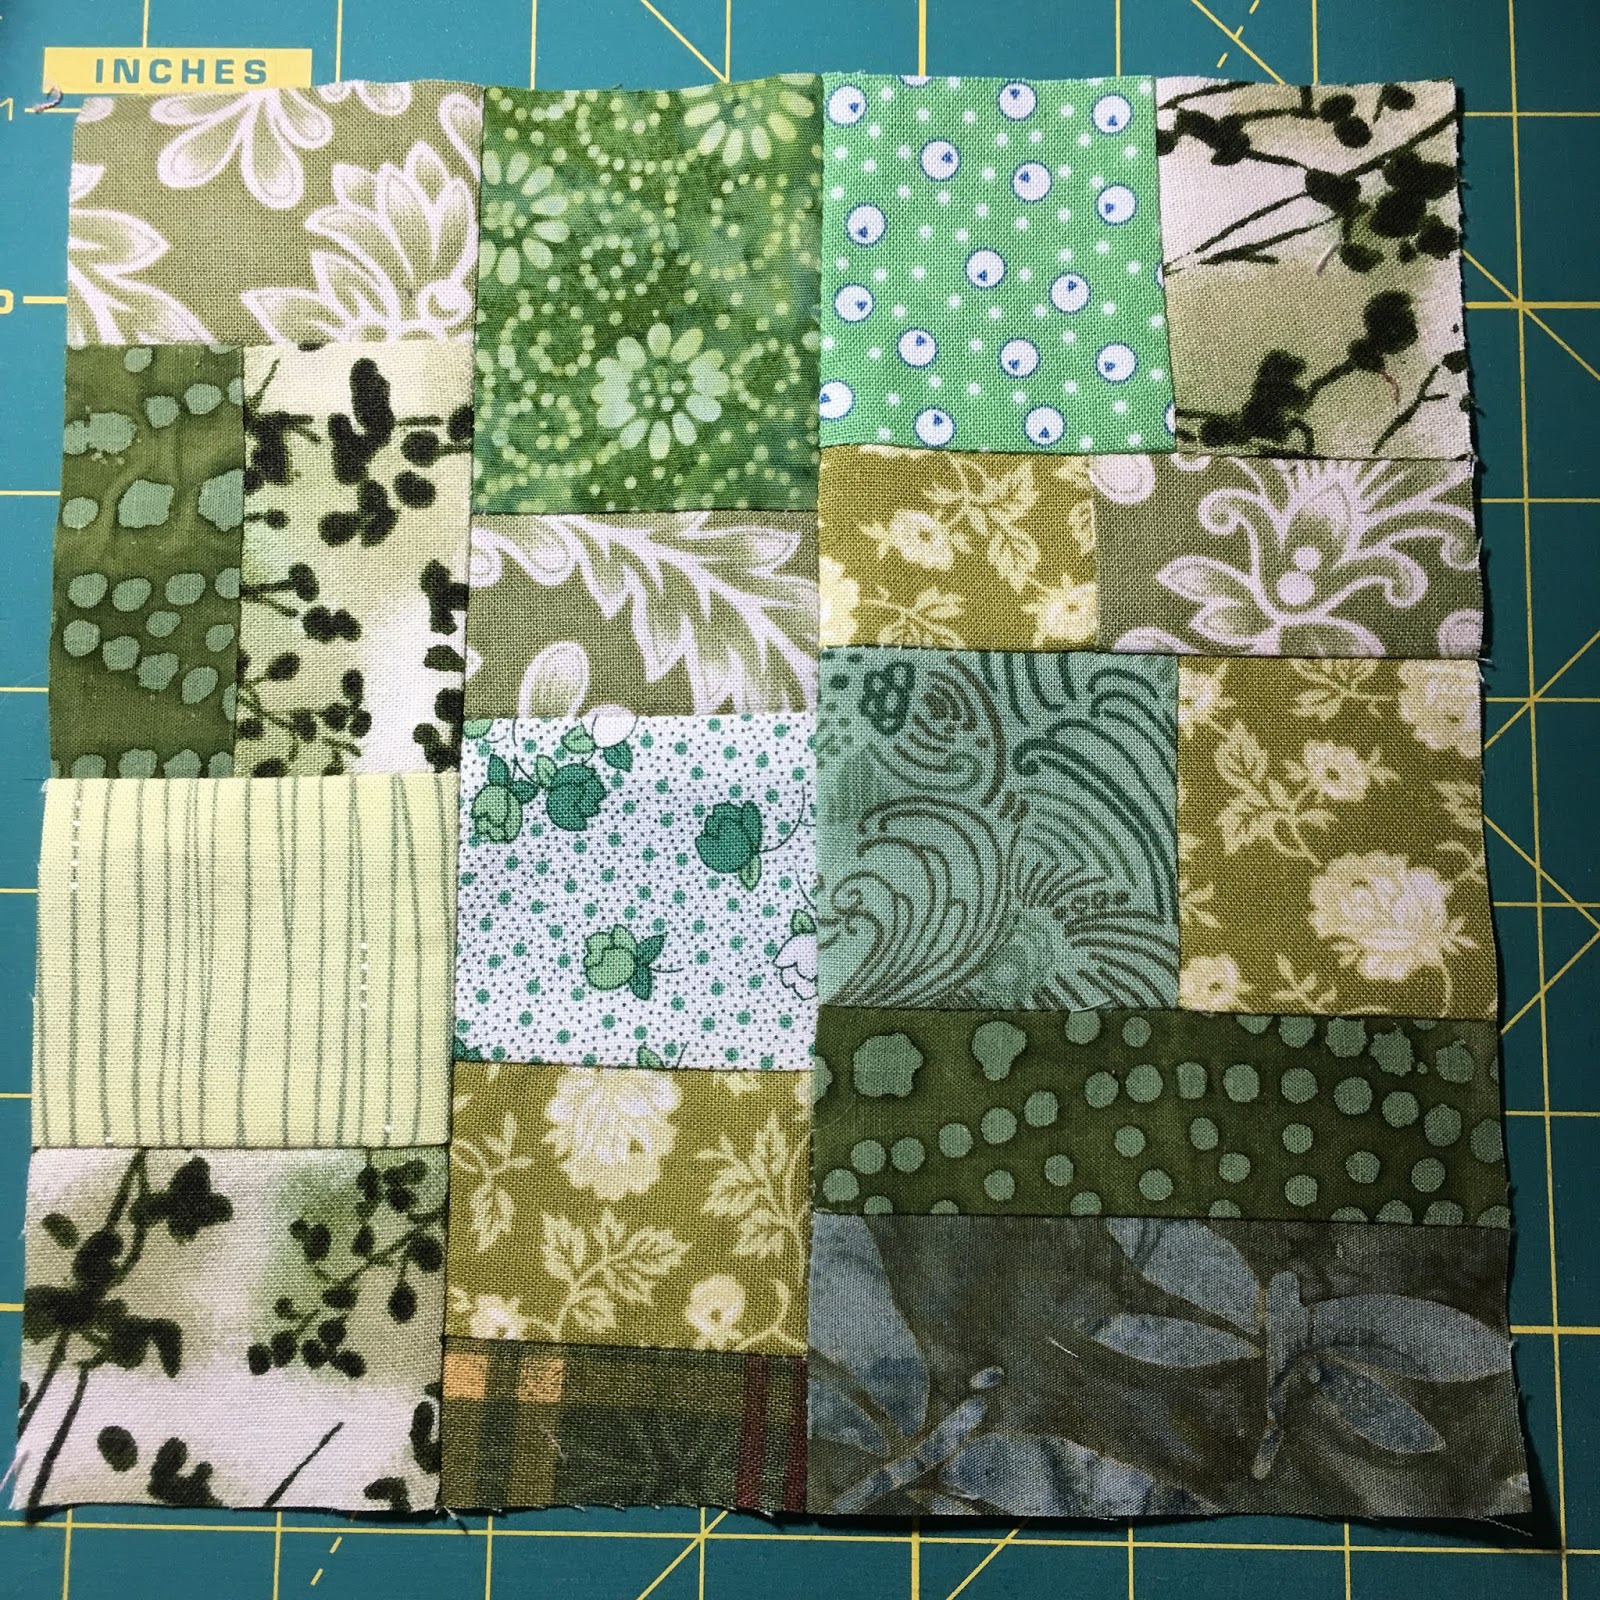
Red / Red, Orange, Yellow / Yellow:


 Purple, Red, Orange / Orange / Orange, Yellow, Green:


 Back side blocks:

Yellow, Green, Blue / Blue / Blue, Purple, Red:


Green / Green, Blue, Purple / Purple:


And some more in-progress pictures

Starting to add the grey border:


Closeup (it's actually grey with shimmery gold):


Each side finished and ready for bottom and lining:


I love how the border makes each section "pop" instead of having them bleed together.

I used mostly fabric from my stash and used a heavier linen type fabric for the bottom and lining. The blocks were made using a modified version of this tutorial ( https://quiltingisstillmypassion.blogspot.com/2007/07/mile-minute-blocks-photo-tutorial.html )Thanks for looking!